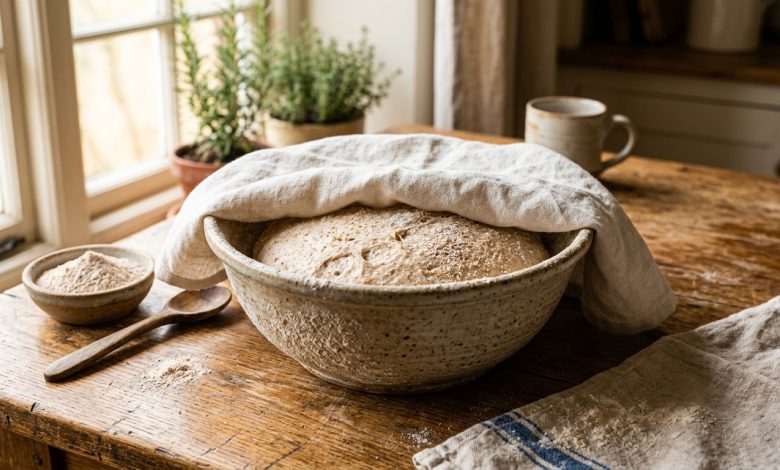
You kneaded your bread, naan, or pizza dough just as you always do. But three hours later, you lift the damp tea towel and find the dough sitting completely flat, dense, and lifeless. In the summer, that exact same recipe doubled in size within 45 minutes, but on a chilly 12°C winter morning, the yeast refuses to cooperate.
Bakers frequently think their yeast packet has expired. But nine times out of ten, the yeast is completely healthy—it is merely dormant. Yeast (Saccharomyces cerevisiae) is a living, single-celled organism whose metabolic rate is strictly governed by ambient temperature.
Here is the science behind why dough struggles in winter, how temperature affects gluten and yeast activity, and the best household hacks to create a cozy proofing environment without buying a proofing box.
The Biology of Yeast Temperatures
Yeast feeds on the fermentable sugars in flour, releasing carbon dioxide gas (which inflates the gluten strands and causes rising) and ethyl alcohol (which creates flavor). However, yeast activity changes drastically across temperature ranges:
- Below 10°C (50°F): Yeast enters near-total dormancy. Fermentation stalls entirely.
- 10°C to 20°C (50–68°F): Yeast metabolizes very slowly. A rise that takes 1 hour at room temperature can take 4 to 6 hours.
- 24°C to 28°C (75–82°F): The ideal sweet spot for balanced bread and naan fermentation. The yeast multiplies efficiently while developing rich, complex flavor.
- Above 48°C (120°F): Yeast begins dying from thermal shock. Boiling liquid added directly to yeast kills the batch permanently.
Four Simple Hacks to Proof Dough in Winter
You do not need an expensive commercial proving drawer. You can create a reliable warm microclimate using everyday appliances:
1. The Oven Light Trick
Keep your oven completely turned off, but switch on the interior incandescent oven light bulb. An ordinary 40W oven light bulb generates enough ambient radiant heat within the insulated steel cavity to warm the chamber to a steady, draft-free 25°C to 28°C. Place your covered bowl on the middle rack and shut the door.
2. The Microwave Steam Chamber
A microwave is heavily insulated. Fill a coffee mug with water and microwave it on high for 2 minutes until the water is boiling and steam coats the interior walls. Quickly slide the mug to the corner, place your covered bowl of dough inside, and shut the door. The residual steam creates a warm, humid environment that prevents the dough surface from drying out.
3. An Insulated Cooler or Casserole
Just as we covered in our guide to setting dahi in cold weather, an insulated picnic icebox or large casserole works both ways. Place your dough bowl inside a clean plastic cooler, place a hot water bottle or jar of boiling water next to it, and snap the lid shut.
4. Pre-Warm Your Flour and Water
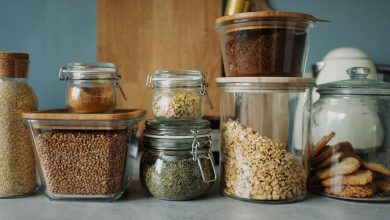
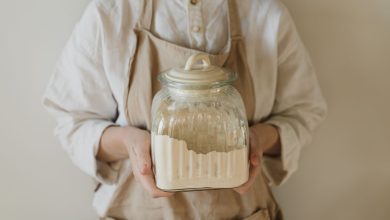
Flour stored in a cold pantry absorbs winter chill. If you mix 10°C flour with tap water, the dough mass starts freezing cold. For proper flour storage advice, see our guide on storing flour at home. Use lukewarm water (around 38°C—comfortably warm to your wrist) and rinse your ceramic mixing bowl with warm water before kneading.
Summary
- Never place cold dough on a stone or granite kitchen counter; cold stone siphons heat directly out of the bottom of your bowl.
- Use lukewarm liquids when kneading during winter months.
- Proof inside an unheated oven with the light bulb switched on or inside a microwave with a mug of steaming water.