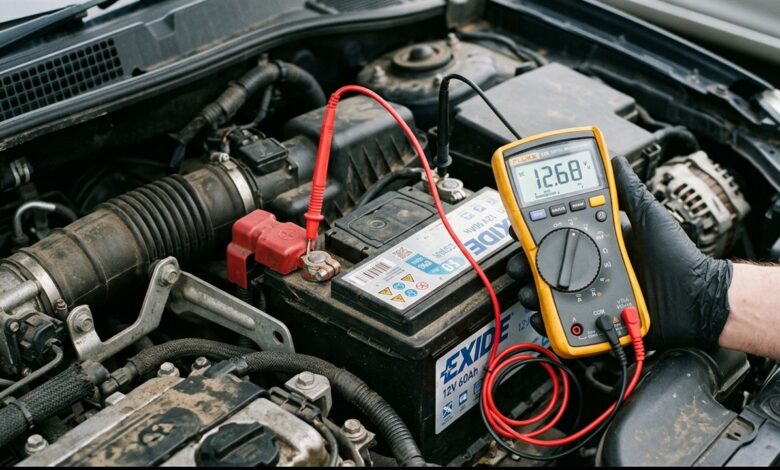
You turn your ignition key on a cold morning, hear a rapid clicking sound. Watch your dashboard lights flicker and go dark. Experiencing a dead battery is a universal automotive frustration. Knowing how to jump start a car battery safely gets you back on the road in minutes without damaging sensitive onboard computer electronics.
Modern vehicles contain complex Engine Control Units (ECUs), delicate infotainment touchscreens, and sensitive sensor networks. Connecting booster cables incorrectly can produce severe short circuits. Consequently, reversing polarity fries onboard microchips costing thousands to repair.. In this comprehensive step-by-step emergency guide, we explain the exact clamping sequence, explore safe grounding principles. Share precautions to protect both vehicles.
Vital Safety Rules to Jump Start a Car Battery Safely
Before pulling out a set of jumper cables. Take these vital safety measures to protect yourself from acid splatters and electrical shocks.
- Inspect the Dead Battery for Damage: Examine the battery plastic casing. If the battery sides are swollen. Cracked, or leaking foul-smelling liquid, do not attempt to jump start it. Charging a cracked or frozen battery can ignite trapped hydrogen gas, causing a dangerous explosion.
- Ensure Both Cars Do Not Touch: Park the booster vehicle close to the dead vehicle so cables reach easily. Ensure bumpers do not touch.. Verify that the metal bumpers and bodies do not touch each other. Metal-to-metal contact can create an accidental chassis ground loop.
- Turn Off All Electrical Loads: Switch off headlights, cabin blowers, air conditioning, phone chargers. Radios in both vehicles. This prevents electrical voltage spikes from damaging accessories when the circuit closes.
- Engage Parking Brakes: Put both vehicles in Park (for automatics) or Neutral (for manuals) and engage the handbrakes securely.
The Foolproof Four-Clamp Connection Sequence
Memorizing the correct color and clamping sequence ensures spark-free, safe electrical flow. Always follow this exact four-step clamping order.
- First Clamp (RED to DEAD Positive): Connect one RED positive clamp to the positive (+) terminal of the dead battery.. The positive post is marked with a plus sign and usually features a red plastic cover.
- Second Clamp (RED to GOOD Positive): Connect the second RED positive clamp to the positive (+) terminal of the booster battery..
- Third Clamp (BLACK to GOOD Negative): Connect one BLACK negative clamp to the negative (-) terminal of the booster battery..
- Fourth Clamp (BLACK to DEAD Unpainted Ground): Connect the final BLACK negative clamp to an unpainted. Connect the final clamp to a solid unpainted metal bracket on the dead engine block.. Crucial Warning: Never attach this final black clamp directly to the dead battery negative post. The final connection produces a tiny spark. Keeping that spark away from the battery prevents igniting vented hydrogen fumes.
Jumper Cable Clamping Sequence: Connect vs Disconnect
| Step Order. | Connection Phase (Hooking Up). | Disconnection Phase (Removing). |
|---|---|---|
| Step 1. | RED clamp to DEAD battery (+) positive. | BLACK clamp from DEAD car metal ground. |
| Step 2. | RED clamp to GOOD battery (+) positive. | BLACK clamp from GOOD battery (-) negative. |
| Step 3. | BLACK clamp to GOOD battery (-) negative. | RED clamp from GOOD battery (+) positive. |
| Step 4. | BLACK clamp to DEAD unpainted metal ground. | RED clamp from DEAD battery (+) positive. |
Starting the Engine and Safe Removal Protocol
Once all four clamps are seated firmly on clean metal contacts, proceed with starting the vehicles:
First, start the booster vehicle engine and hold the throttle gently at 1. Furthermore, 500 to 2,000 RPM for three to five minutes. This allows the working alternator to feed electrical charge into the dead battery, raising its terminal voltage. Next, turn the key in the dead vehicle. The engine should crank smoothly and start immediately.
Once the revived car is running, remove the jumper cables in the exact reverse order. Disconnect the black ground clamp from the revived car first. Then the black clamp from the booster car, followed by the red clamp from the booster car. Finally the red clamp from the revived car. Never allow the cable clamps to touch each other while removing them.
Keep the revived vehicle running for at least 20 to 30 minutes. This allows the alternator to recharge the battery fully.. For related battery diagnostic tutorials, read our guide on how to diagnose overnight parasitic battery draw. For more automotive guides, explore our full automotive maintenance guides.